Wiring the System


Show as Thumbnails. Show 20, 40, 60, 80, 100, per page.
Back to Solar/Wind System

1 2 Next
001 Ready to Put Together

001 Ready to Put Together


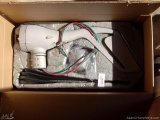
002 Air X 400W 48v

002 Air X 400W 48v


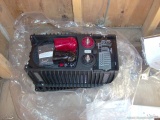
003 Outback GVFX3648 Inverter

003 Outback GVFX3648 Inverter


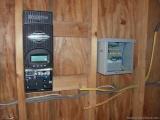
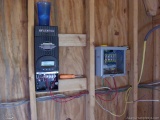
004 Outback FlexMax 80 Charge Controller

004 Outback FlexMax 80 Charge Controller


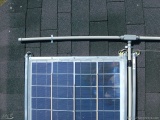
005 PV Junction Box and Grounding

005 PV Junction Box and Grounding


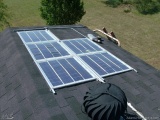
006 PV Array Shot 1

006 PV Array Shot 1


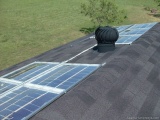
007 PV Array Shot 2

007 PV Array Shot 2


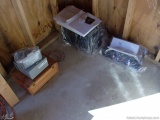
008 Box Ready to Wire

008 Box Ready to Wire


009

009


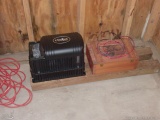
010 Inverter Ready to Wire

010 Inverter Ready to Wire


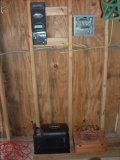
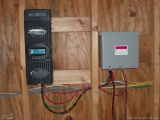
011 System Ready to Wire

011 System Ready to Wire


012

012


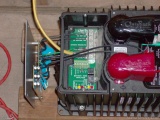
013 Outback Inverter Closeup

013 Outback Inverter Closeup


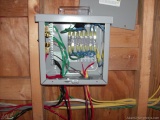
014 Custom DC Box

014 Custom DC Box


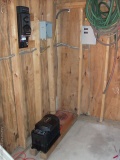
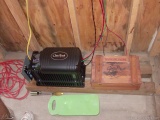
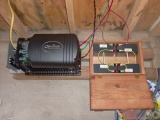
015 Inverter, Batteries Wired

015 Inverter, Batteries Wired


016 Getting Output!

016 Getting Output!

Those parallel wires will have to be added to or replaced with something larger when the system grows. This is the first start. It started putting out 5 amps at 50 volts DC into the inverter. That makes for 250 watts going back into the grid, yea!

017 Battery Box

017 Battery Box

Our focus was a grid tie system, but the Outback inverter required batteries. We still choose it because it allowed us to be flexible. Luckily, we just needed a static load to power everything, so we got 4 12V, 8AH SLA batteries and wired them in series. They cost about $85. The wooden box we had on hand.
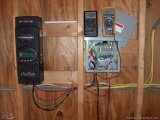
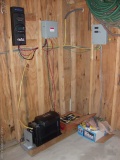
018 Complete System

018 Complete System


019

019


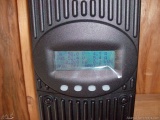
020 Charge Controller Screen

020 Charge Controller Screen